How to Install an Electric Cattle Fence Step by Step
Electricercas team · October 3, 2026 · 6 min read
Key takeaways
- Plan perimeter, strands and gates before buying
- Solid corner posts; line posts every 33 to 65 ft
- Never tie live wire directly to a post
- Use at least three well-spaced ground rods
- Aim for 3,000–4,000 V at the far end of the fence
Building an electric cattle fence isn't hard, but it does reward a methodical approach. Most electric fences that "don't bite" aren't let down by the energizer: they fail because of poor grounding, cracked insulators, loose splices or a layout nobody planned. This guide walks you through how to install an electric fence for cattle step by step, from pasture layout to the final voltage test. It's the same workflow we at Electricercas have recommended to ranchers since 2014, from our base in Medellín, Colombia, to customers across Latin America and beyond.
Plan before you buy
The most expensive mistake is buying materials by guesswork. Spend an afternoon planning and you'll save trips to the store and money.
Measure the perimeter and lay out paddocks
Walk the property with a phone GPS app or a measuring wheel and write down:
- The total perimeter of each paddock, in meters or feet.
- How many strands (lines) the fence will carry.
- Where gates, water crossings and road crossings will go.
- Areas with heavy weeds, steep slopes or very dry soil.
- Where the energizer will sit, and whether you have grid power or need a solar setup.
Perimeter times number of strands gives you the length of conductor you need. A square 10-hectare (about 25-acre) paddock has roughly 1,265 m (4,150 ft) of perimeter, so a two-strand fence needs about 2.5 km (1.6 miles) of wire. If you'd rather not run the numbers by hand, our fence calculator estimates materials from the area and fence type.
Choose strand count and heights
For mature cattle, one or two strands are usually enough for internal rotational grazing fences, and two or three for perimeter fences. These heights are a practical starting point; adjust them to your animals:
| Fence type | Strands | Approximate height above ground |
|---|---|---|
| Internal division (rotation, mature cattle) | 1 | 80–90 cm (32–36 in) |
| Internal division with calves | 2 | 50 cm and 90 cm (20 and 36 in) |
| Perimeter, beef or dairy | 2–3 | 45, 75 and 105 cm (18, 30 and 41 in) |
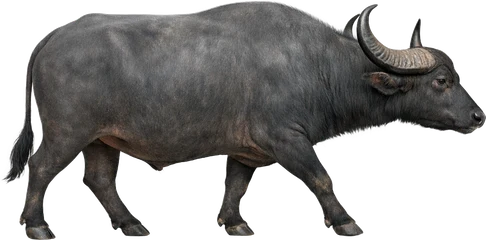
| Perimeter with bulls or water buffalo | 3–4 | 40, 70, 100 and 125 cm (16, 28, 39 and 49 in) |
Rule of thumb: the top wire at about chest-to-nose height of the animal, and the lower wires low enough that calves can't slip underneath.
What you'll need
A complete cattle fence is built from five groups of materials:
- Energizer (fence charger): the heart of the system. See our guide on which electric fence energizer to buy to size it by distance and weed load. Browse energizers and solar energizers.
- Conductor: galvanized steel wire, aluminum wire, polytape or polyrope. See fence and barbed wire.
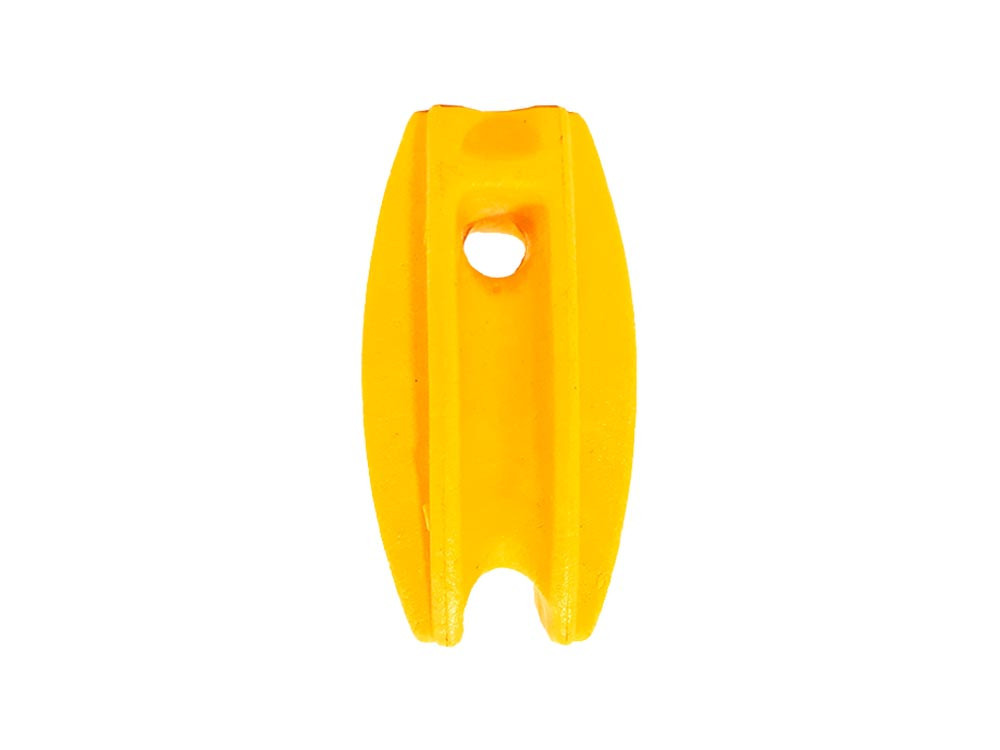
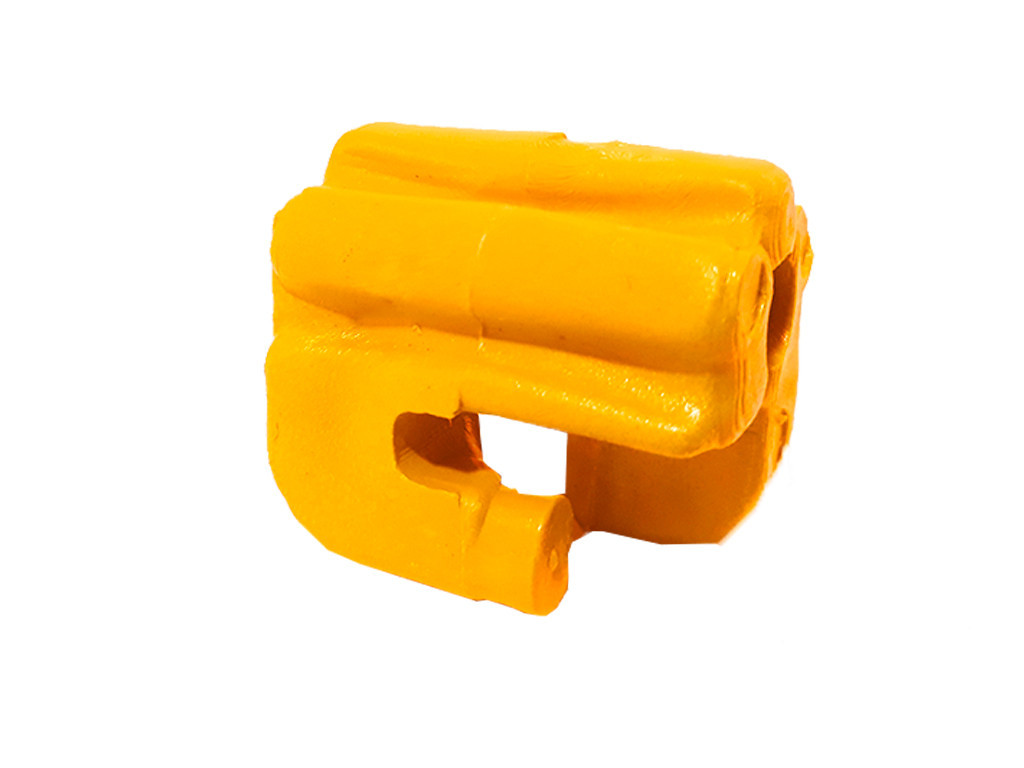
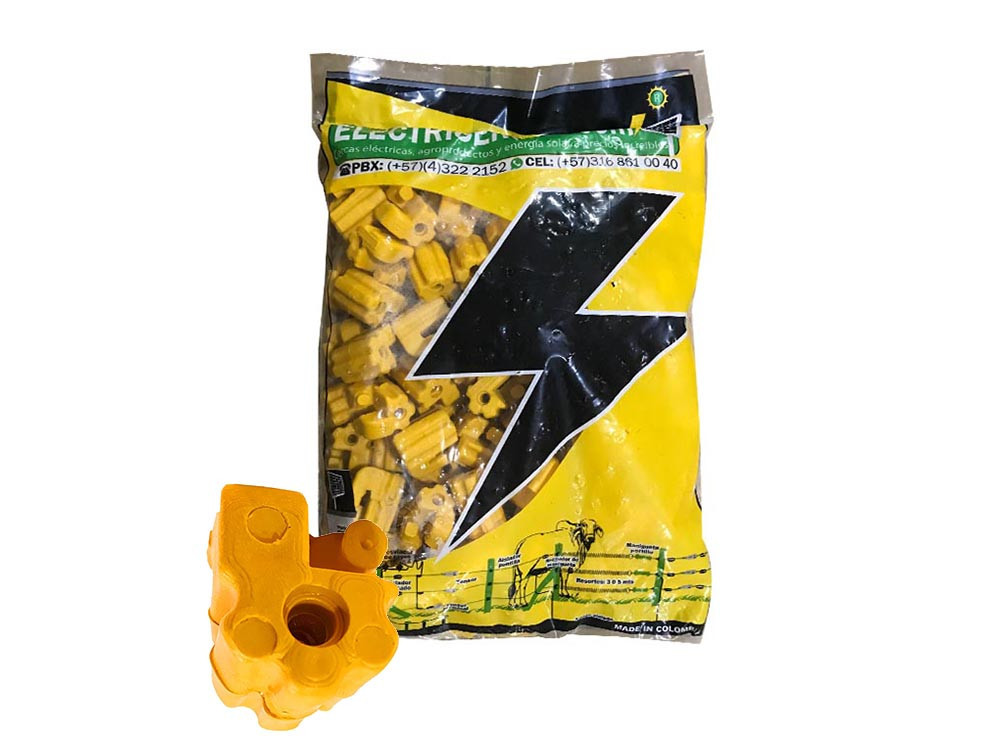
- Insulators: corner, line, screw-in for wood posts, nail-on. Find them under electric fence insulators.
- Posts: treated wood, plastic step-in, fiberglass or living posts.
- Accessories and grounding: copper or galvanized ground rods, insulated high-voltage lead-out cable, gate handles, strainers, connectors and lightning diverters, in electric fence accessories.
You can browse everything in the full product catalog.
Step-by-step electric cattle fence installation
Step 1: Set corner and strainer posts
Corner posts carry all of the wire tension, so they should be your heaviest posts, set deep (typically 70 cm to 1 m, or about 2.5 to 3.5 ft, depending on soil). Brace them with a diagonal brace or an H-brace. Add strainer posts at changes in direction and along long runs, roughly every 200 to 300 m (650 to 1,000 ft).
Step 2: Run a guide line and set line posts
Stretch a string between corners so posts line up straight. Electric fences allow much wider post spacing than barbed wire: on flat ground, 10 to 20 m (33 to 65 ft) between line posts is common, shortened on slopes, curves and rolling ground. If the wire sags to the ground between posts, add another.
Step 3: Install insulators
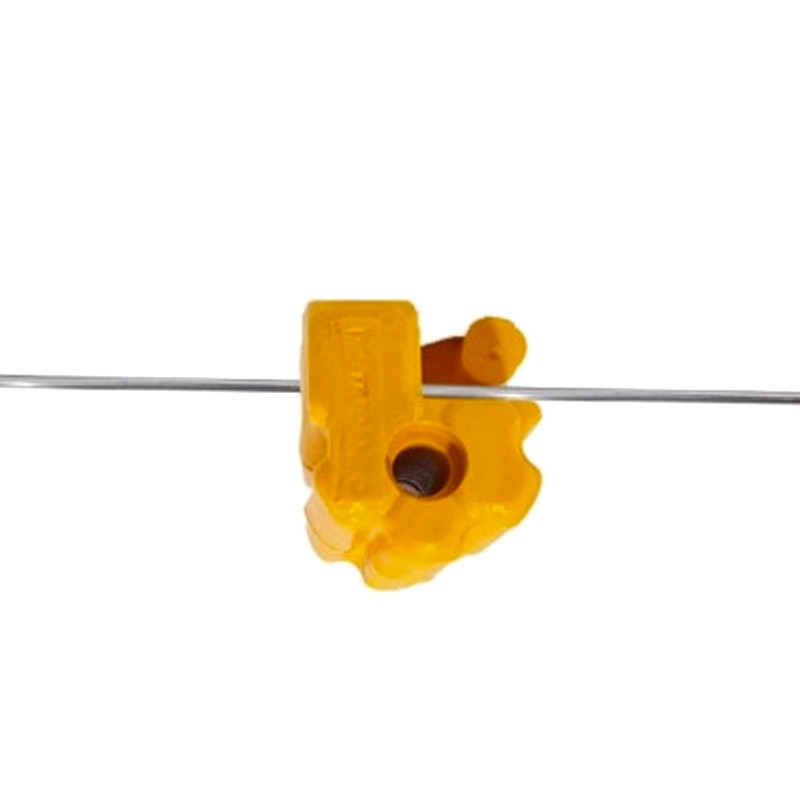
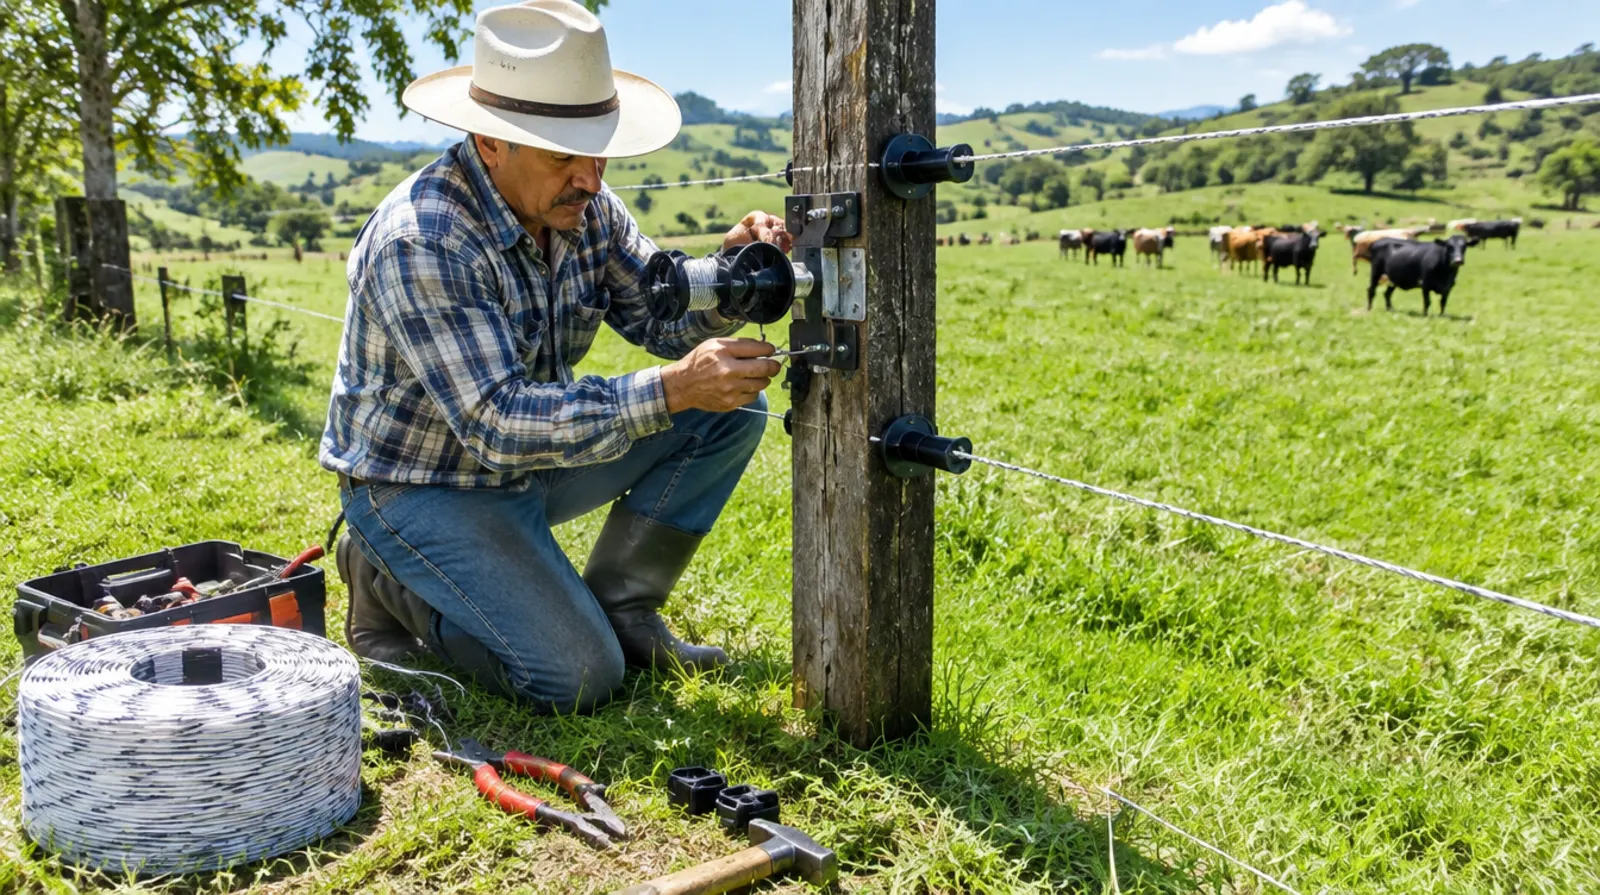
Use corner or strain insulators on corner posts and line insulators on intermediate posts. Keep every strand at a consistent height along the run. Never tie live wire directly to a post: even dry wood becomes conductive in the rainy season and leaks voltage. For help choosing, read our guide to types of electric fence insulators.
Step 4: Run and tension the conductor
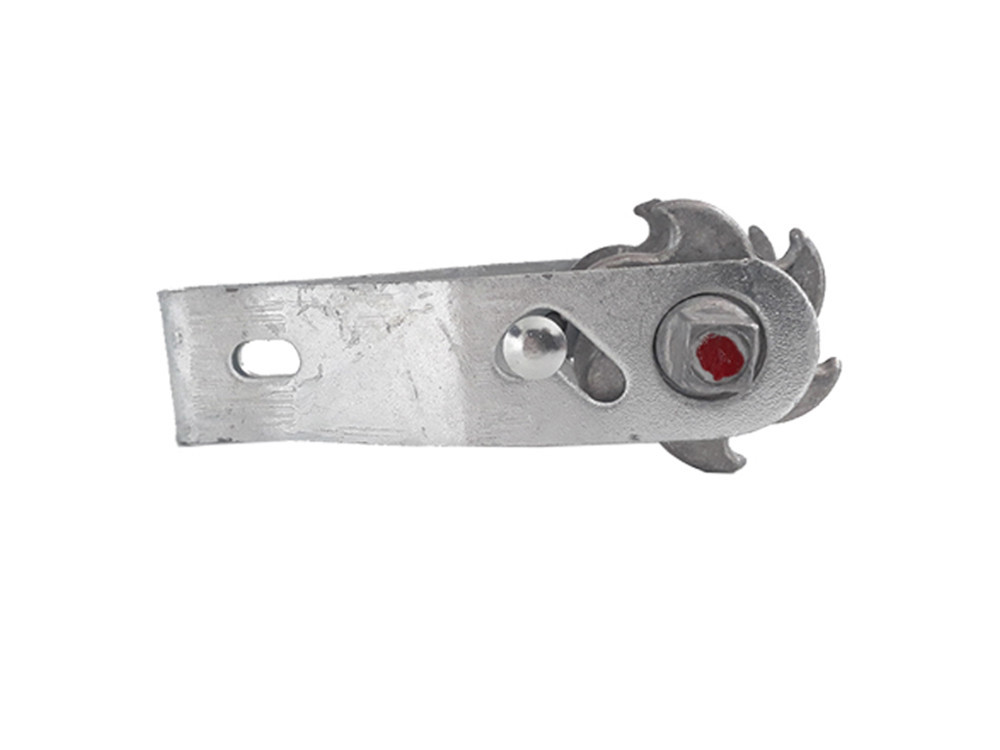
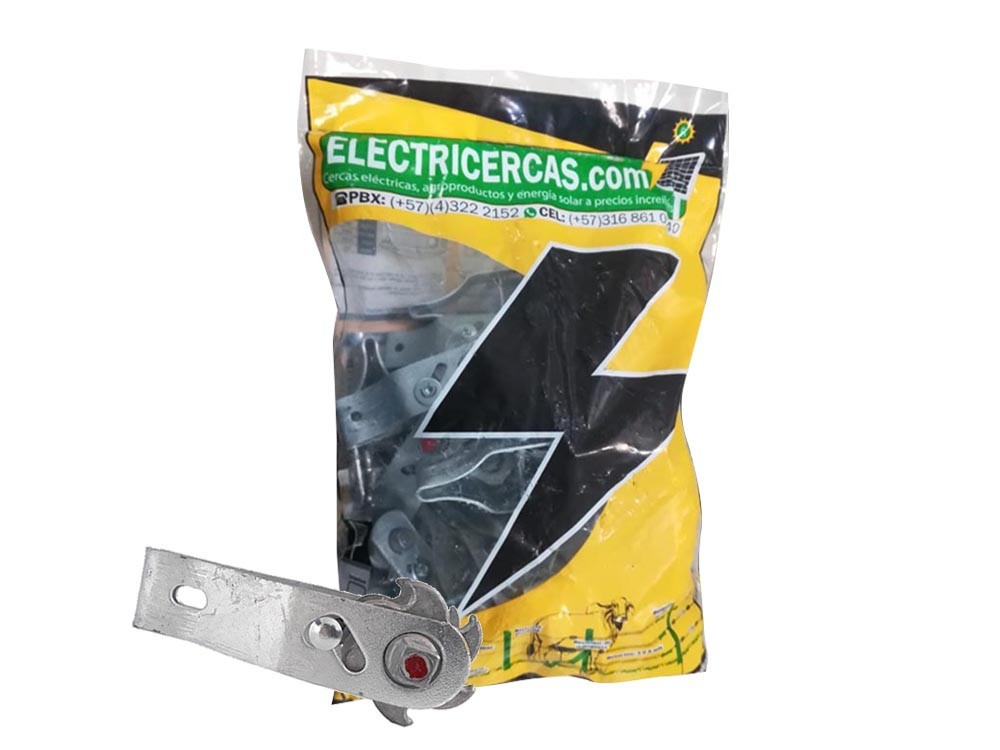
Unroll wire from a spinning jenny or reel so it doesn't kink or tangle. Tie off at one corner, feed it through the line insulators and tension from the other corner with an inline strainer. Steel wire should be taut but not so tight it snaps when an animal hits it; tape and rope need less tension.
Step 5: Make proper splices
Every bad splice adds resistance that steals voltage and causes arcing. Use proper connectors or tight fence knots with no loose tails. If you join dissimilar metals (copper to galvanized, for instance), use rated connectors to prevent galvanic corrosion.
Step 6: Build the ground system
This is the most neglected step and the source of most problems. As a general guide, install at least three ground rods 1.5 to 2 m (5 to 6.5 ft) long, about 3 m (10 ft) apart, joined with continuous wire and connected to the energizer's ground terminal. Dry or sandy soil needs more. Read our full guide on electric fence grounding.
Step 7: Mount the energizer and lightning protection
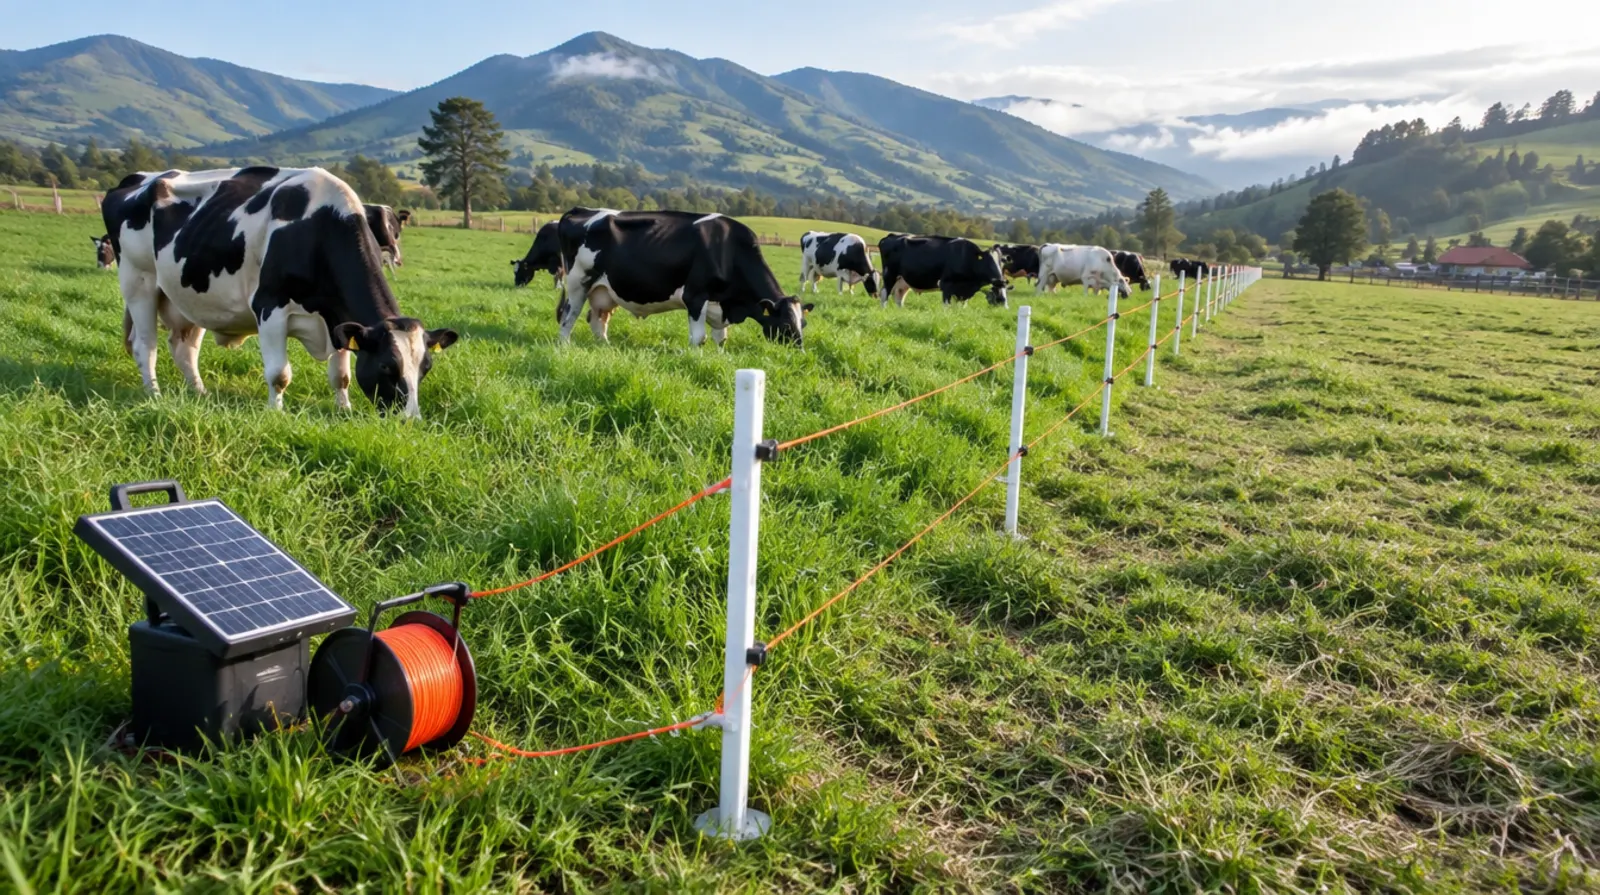
Place the energizer under cover, out of rain and direct sun, near the power outlet or solar panel. Connect the fence terminal to the fence with insulated high-voltage lead-out cable, and the ground terminal to the rods. Install a lightning diverter with its own separate ground, about 20 m (65 ft) from the energizer ground. In areas with frequent thunderstorms it's a must.
Step 8: Gates and crossings
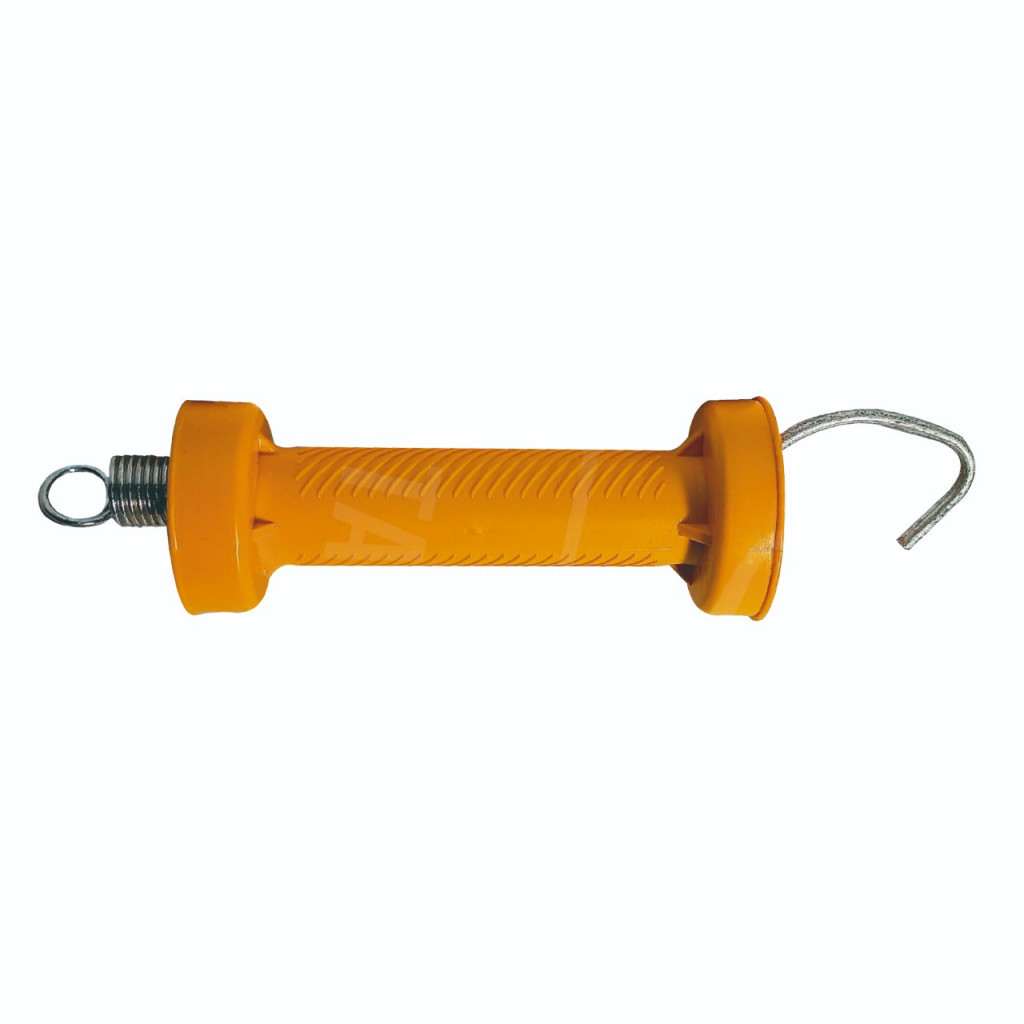
At gates, use insulated spring or tape gate handles so you can open without cutting power. If current must continue past the gate, run insulated lead-out cable inside a conduit buried under the opening. Do the same at road crossings, or use a tall overhead crossing.
Step 9: Test the voltage
With the energizer on, check the far end of the fence with a digital fence voltmeter. As a reference, aim for at least 3,000 to 4,000 volts along the whole line for cattle; below about 2,000 volts animals start to lose respect for it. Test the ground too: with a deliberate short on the fence (a steel rod leaning on the wire at least 100 m / 330 ft from the ground rods), the ground system shouldn't read more than a few hundred volts.
Final checklist before turning cattle out
- No wire touches posts, branches, weeds or old barbed wire.
- All splices are tight with no loose ends.
- The ground system has enough rods and solid connections.
- A lightning diverter is installed with its own ground.
- Voltage at the far end is adequate.
- Gates open without shocking the operator.
- Warning signs are posted where people walk.
Train your cattle
Animals that have never seen an electric fence learn to respect it after one or two shocks. Ideally, train them in a small pen with a highly visible fence (polytape helps a lot) and strong voltage. If the first contact is weak, the animal learns it can push through, and that habit is hard to undo.
Maintenance that keeps the fence working
- Mow or spray a strip under the bottom wire; wet vegetation is the number-one leak.
- Walk the line with a voltmeter weekly and after storms.
- Replace insulators cracked by UV or knocked by cattle.
- In the dry season, water the ground rods if soil is parched.
- Replace rusted wire; corrosion increases resistance.
For detailed manuals by fence type, visit our installation guides, and browse our full range of electric fences.
Common mistakes when installing a cattle fence
- One ground rod "because that's what the neighbor did."
- An energizer sized exactly to the distance with no margin for weeds.
- Using ordinary household wire as lead-out cable: it punctures and leaks.
- Driving metal staples straight over live wire.
- Bottom wire too low in tall-grass areas.
Get your fence materials from Electricercas
If you've already measured your pasture, try our fence calculator to get a list of energizer, wire, insulators and grounding in minutes. Want someone to look at your project? Contact us on WhatsApp at +57 305 453 5264 or email [email protected]. We ship across Colombia and internationally from Medellín, with more than 11,000 orders delivered.
Frequently asked questions
How many strands does an electric cattle fence need?
For internal paddock divisions with mature cattle, one strand at 32–36 in (80–90 cm) is usually enough. Perimeter fences typically use two or three strands, and calves, bulls or buffalo call for an extra lower or higher wire.
How far apart should electric fence posts be?
On flat ground, line posts can be 33 to 65 ft (10 to 20 m) apart. On slopes, curves and rough ground, shorten the spacing so the wire never sags into the ground or weeds.
How many volts should a cattle fence have?
As a general reference, aim for at least 3,000 to 4,000 volts at the far end of the fence. Below roughly 2,000 volts, cattle begin to lose respect for it.
Can I install an electric fence myself?
Yes. Farm crews routinely install cattle fences by following a clear order: posts, insulators, conductor, grounding and energizer. For mains connections or safety questions, work with a qualified electrician and check local regulations.
Need help with your fence?
We ship worldwide. Message us and an advisor will help you choose the right setup.